Audio Signal Visualiser
Project overview
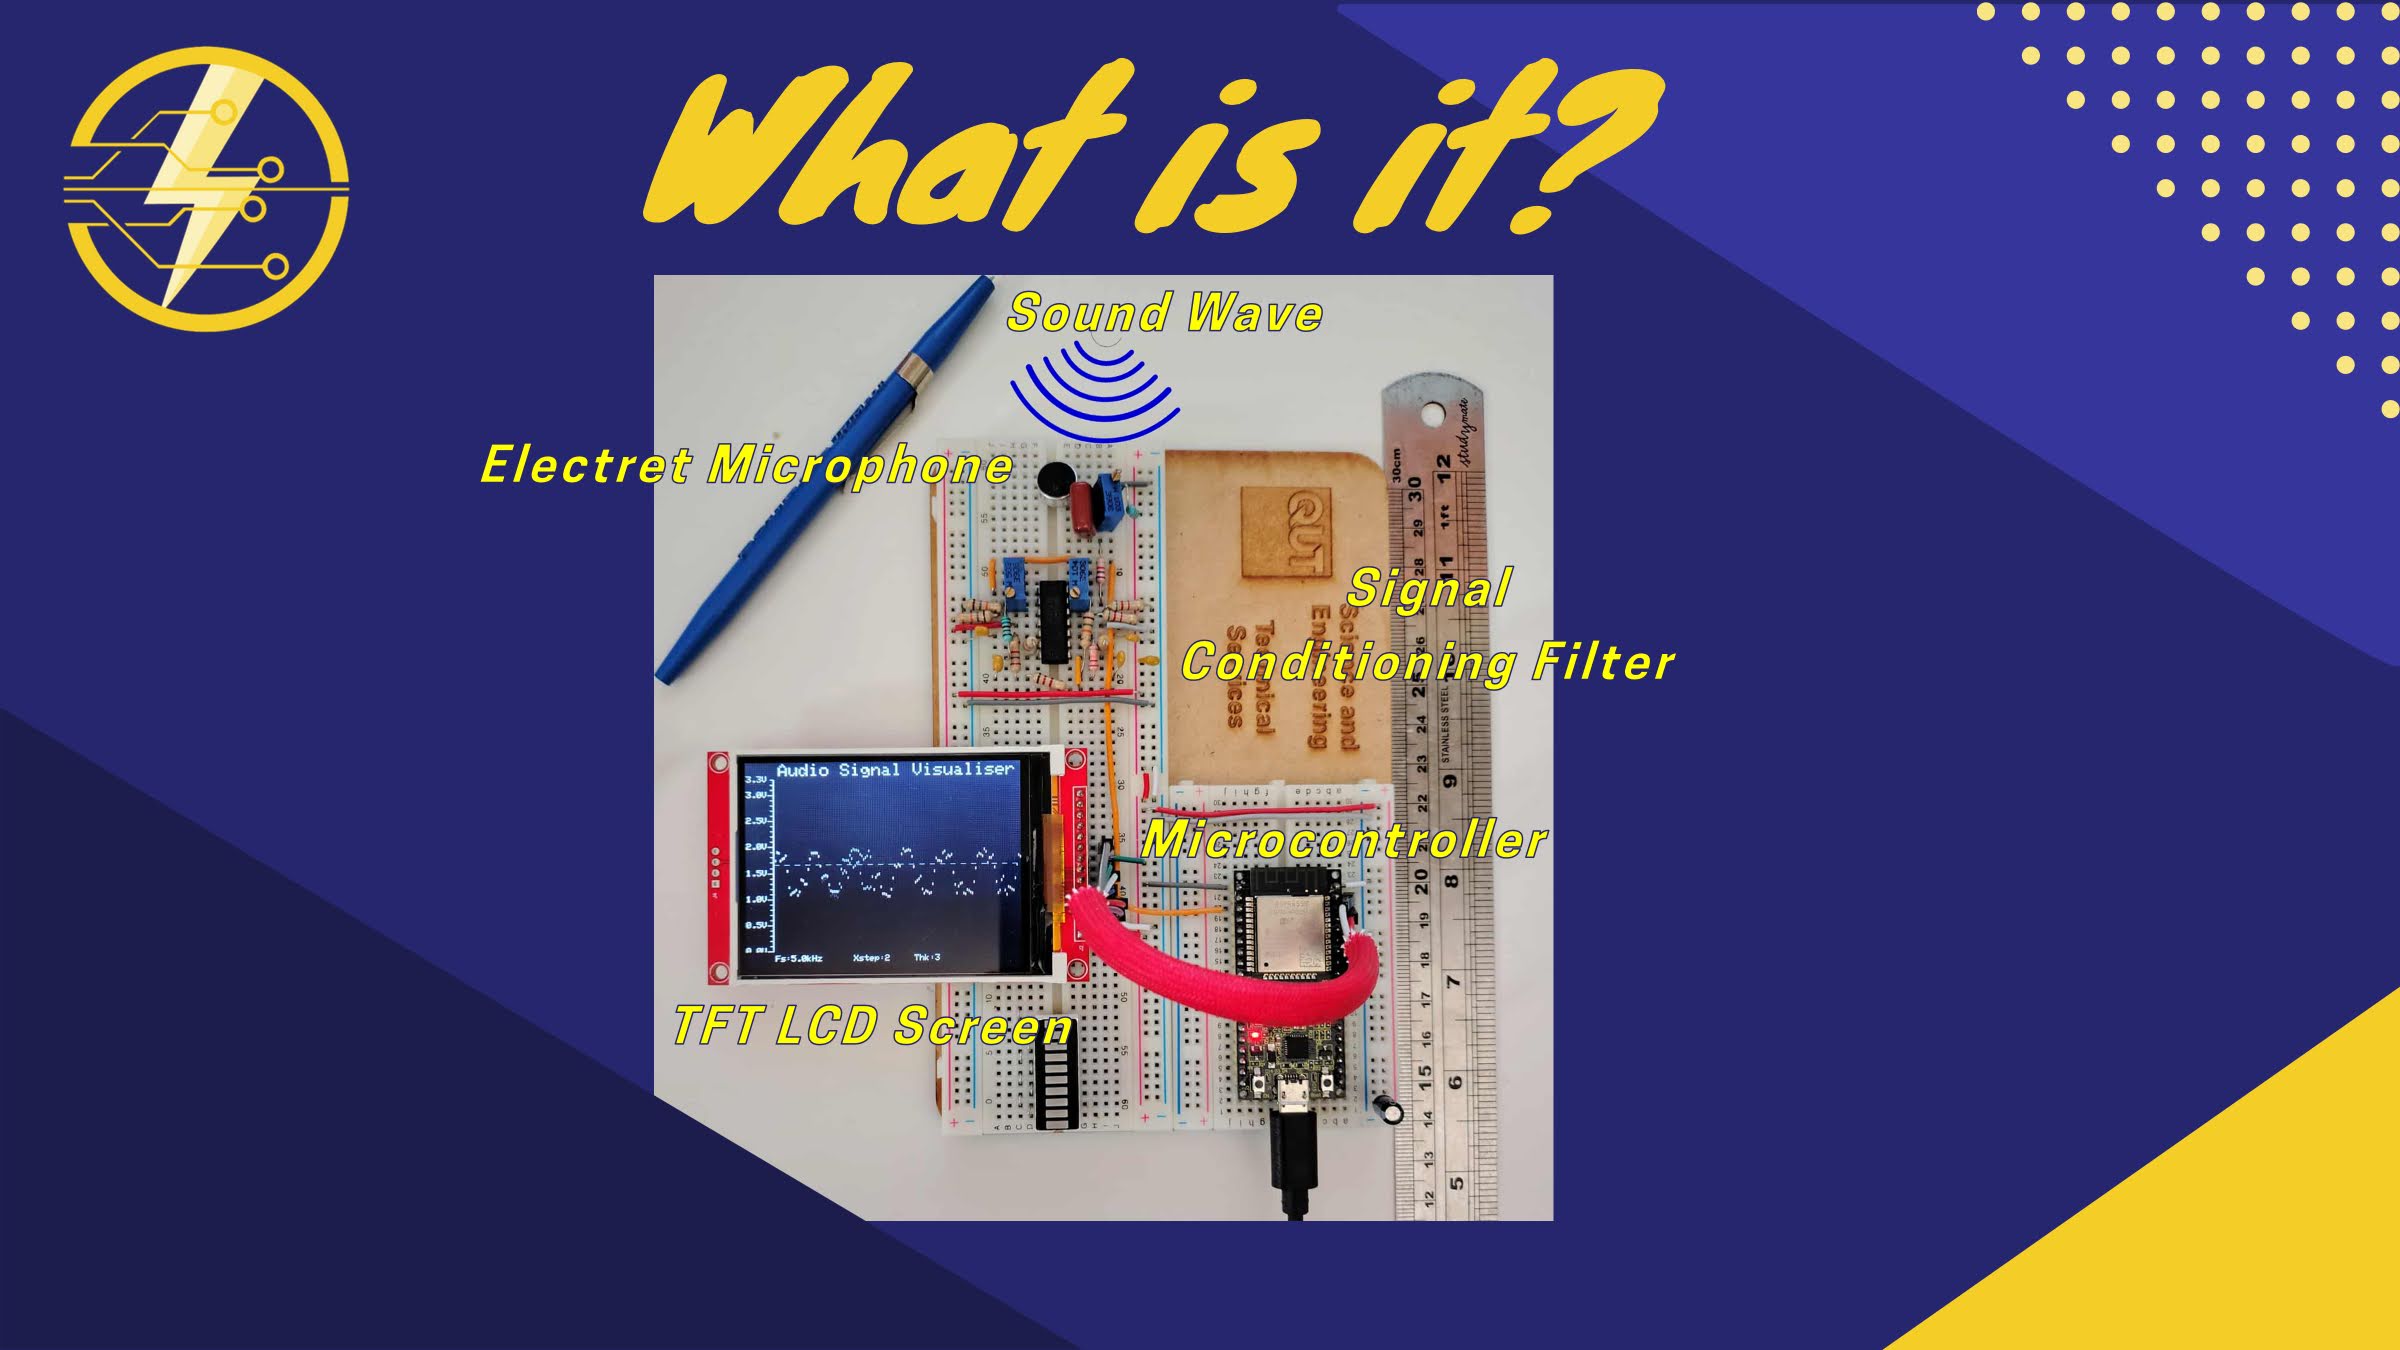
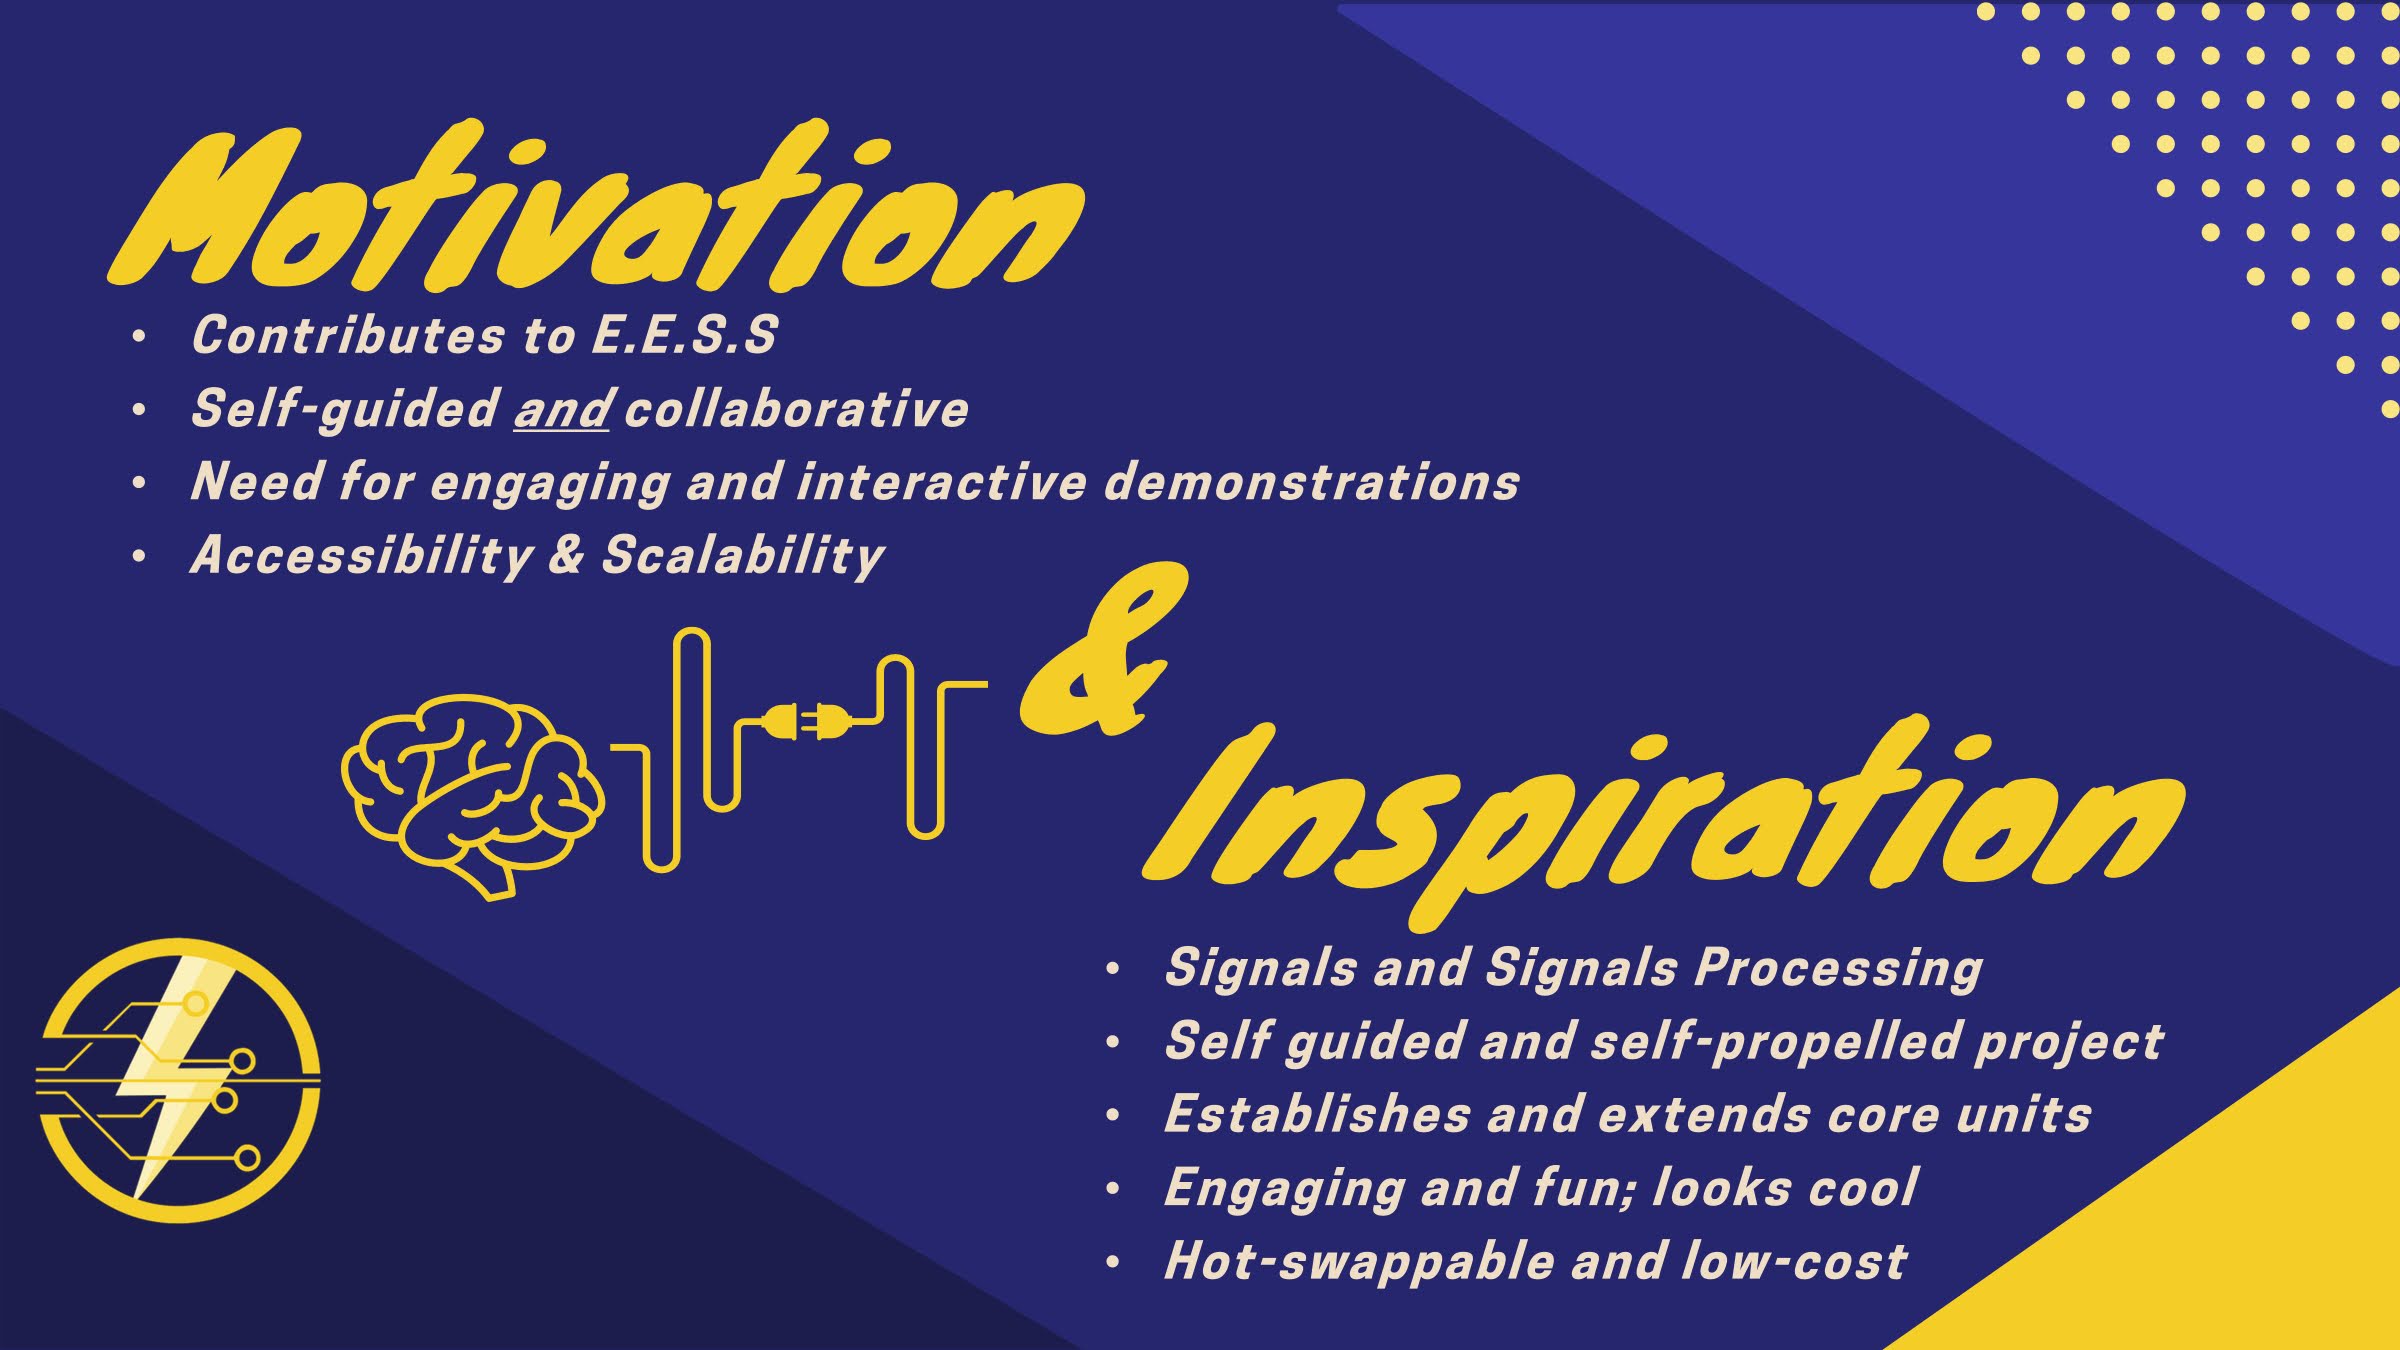
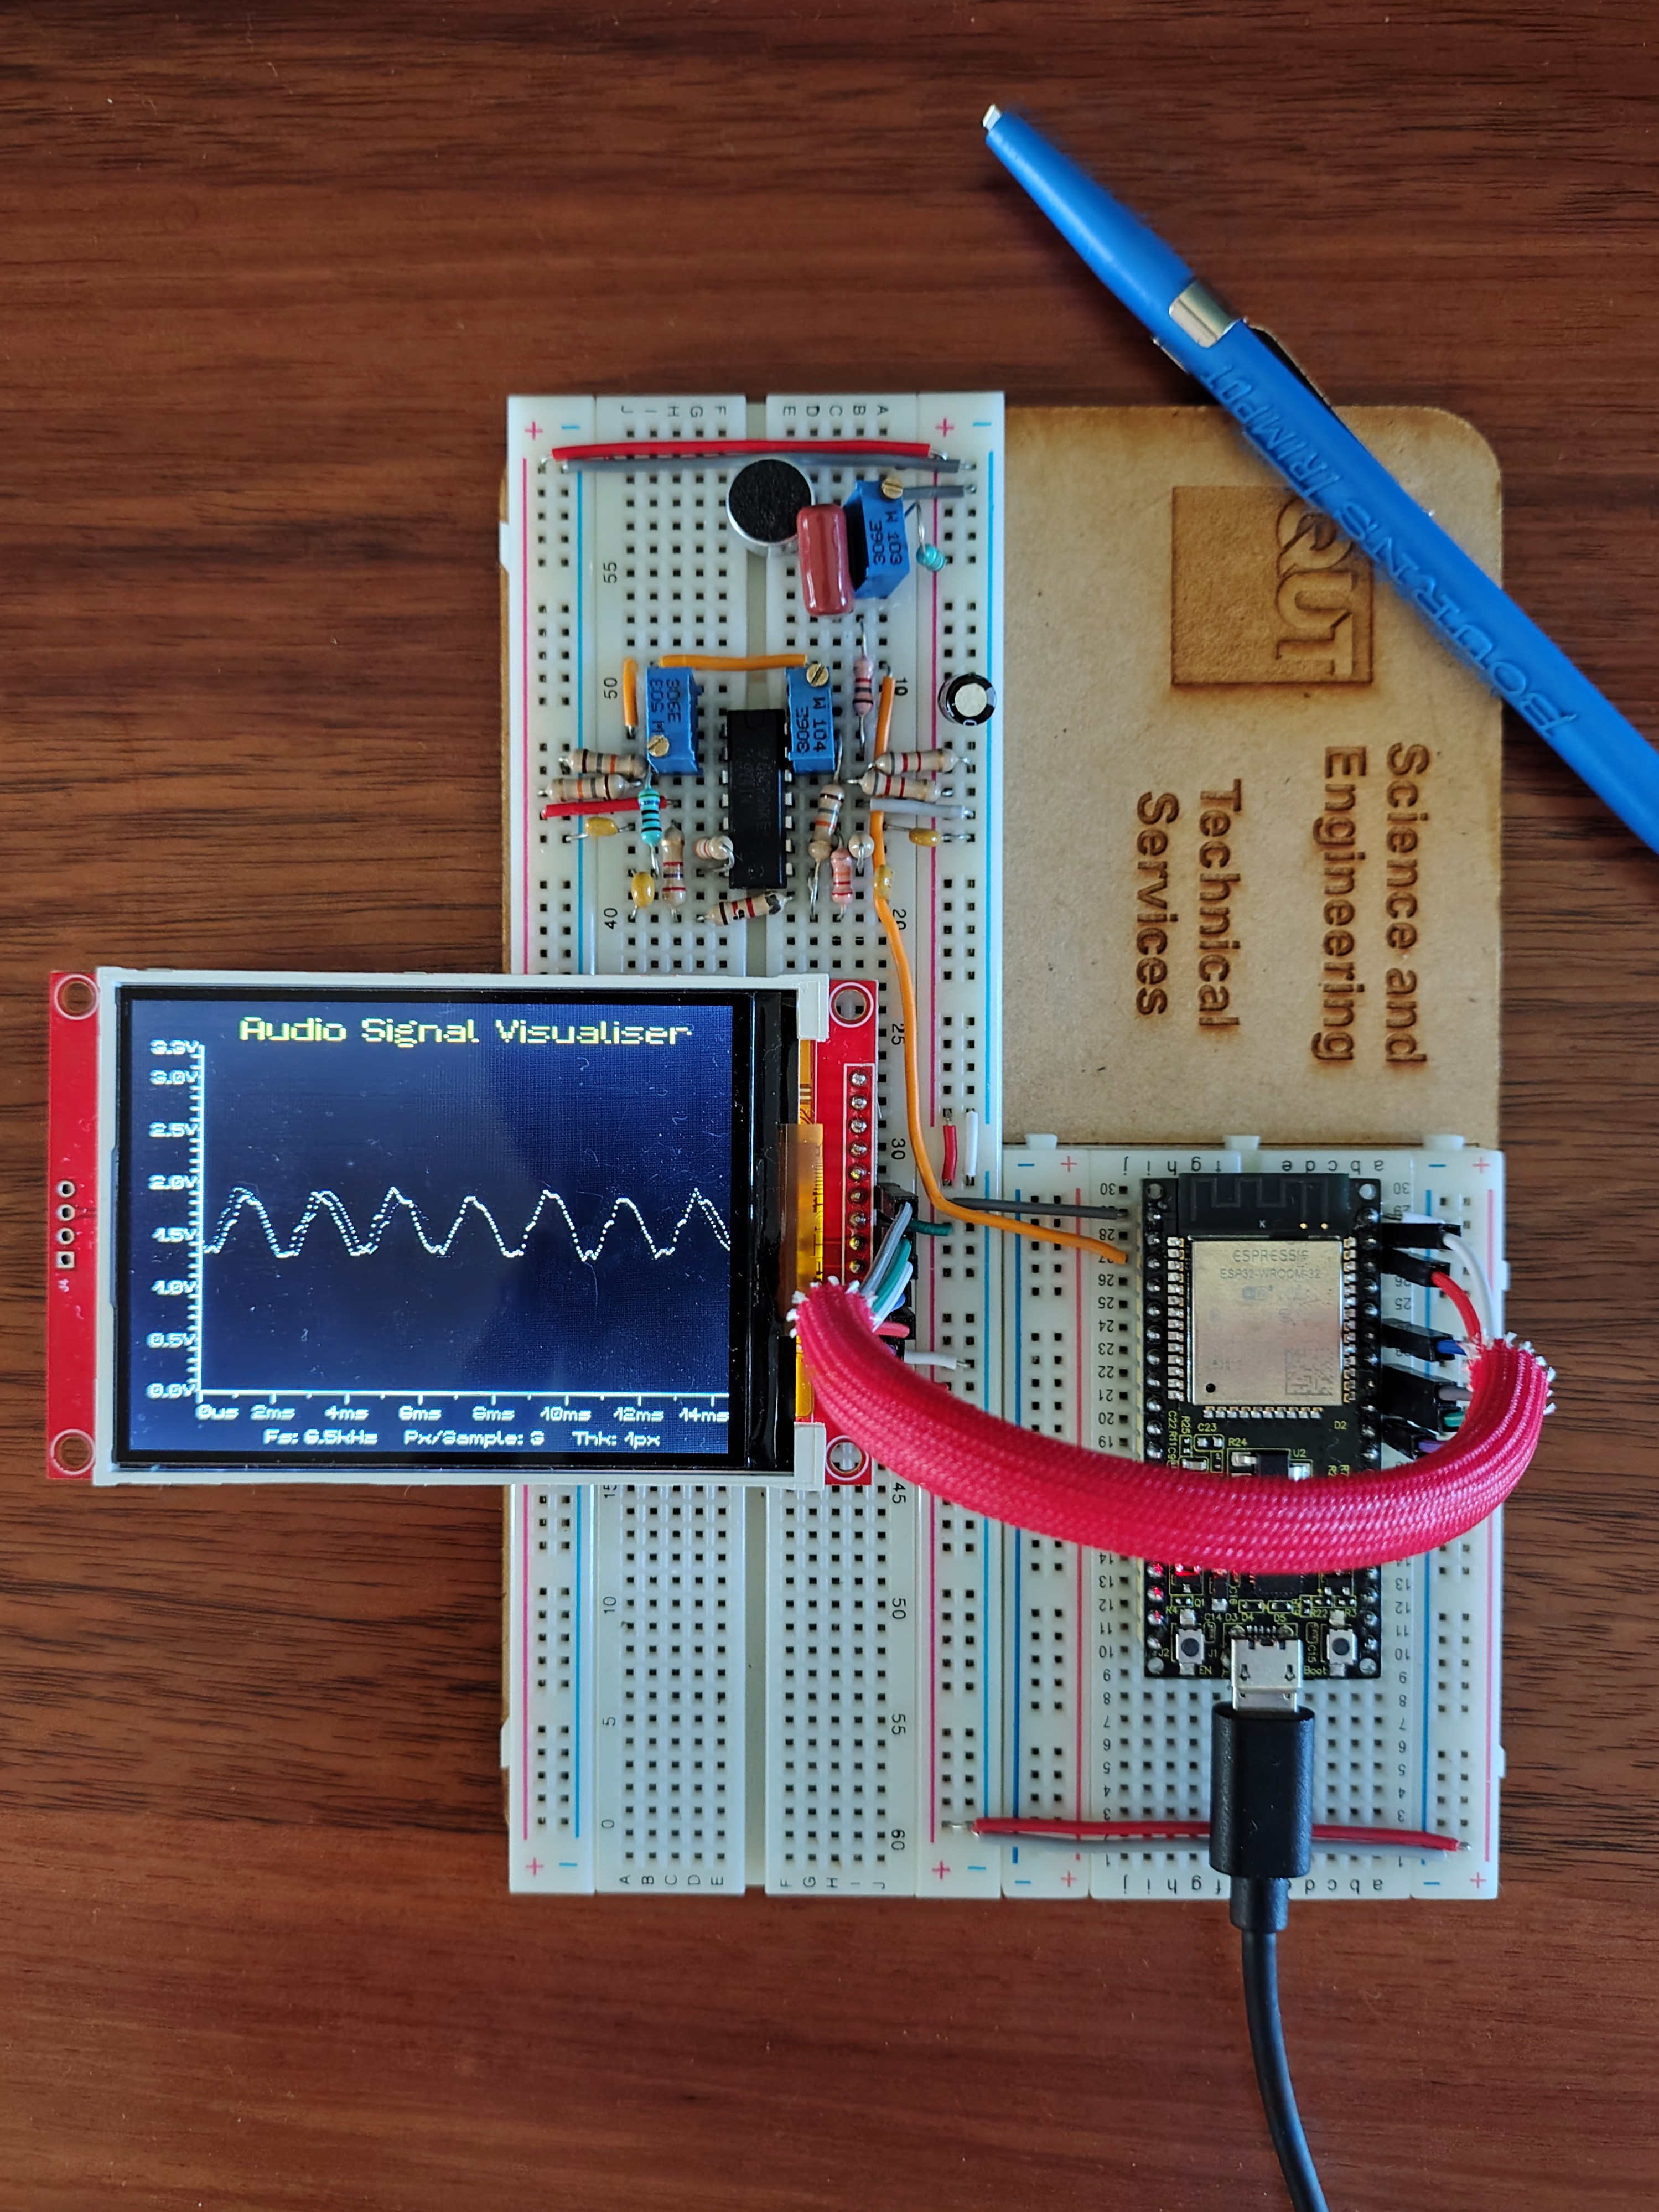
Launched and lead this project with the Electrical Engineering Student Society (EESS) at QUT: a low-cost, hot-swappable demo that takes a live audio signal, conditions it through an analog front end, and displays the waveform in real time, giving members hands-on exposure to analog circuit design and embedded systems beyond what their core units cover. The breadboard prototype and two custom PCBs are built and working; this is an ongoing club project, not a finished, closed one.
System architecture
Selected engineering challenges and decisions
Making an unrealisable filter design buildable. Picking real resistor and capacitor values for a multi-stage active filter is normally tedious: work out the ideal pole locations and Q factor for each stage, then hunt through standard component tables to get close while keeping the op-amp gain stable. I wrote a Python tool to automate that search, generating a Chebyshev-I prototype, decomposing it into cascaded Sallen-Key stages, and searching real E12/E24 component series for each stage’s target frequency and Q. The project’s own anti-aliasing filter (8th-order, 3.5kHz cutoff) exposed a real problem with the textbook approach: the ideal decomposition demanded a Q factor of about 18 on one stage, well beyond what a real Sallen-Key stage can realise without becoming unstable. I added a stagger-tuning algorithm, a bounded least-squares optimisation that nudges each stage’s target frequency by up to about 20% while keeping every stage’s Q inside a safe range, trading a small amount of frequency accuracy for a design that’s actually buildable. This mattered because an idealised filter that can’t physically be built isn’t a design, it’s a starting point; the tool is reusable for any future Sallen-Key stage, not a one-off calculation.
Verification or evidence
Beyond the breadboard, I designed a PCB for the signal pre-conditioning stage, the analog front end that conditions the incoming signal before the display:
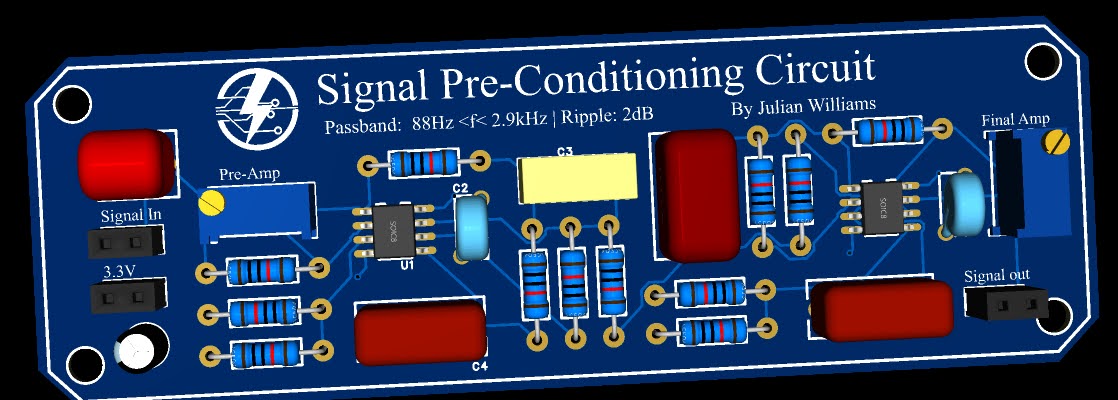
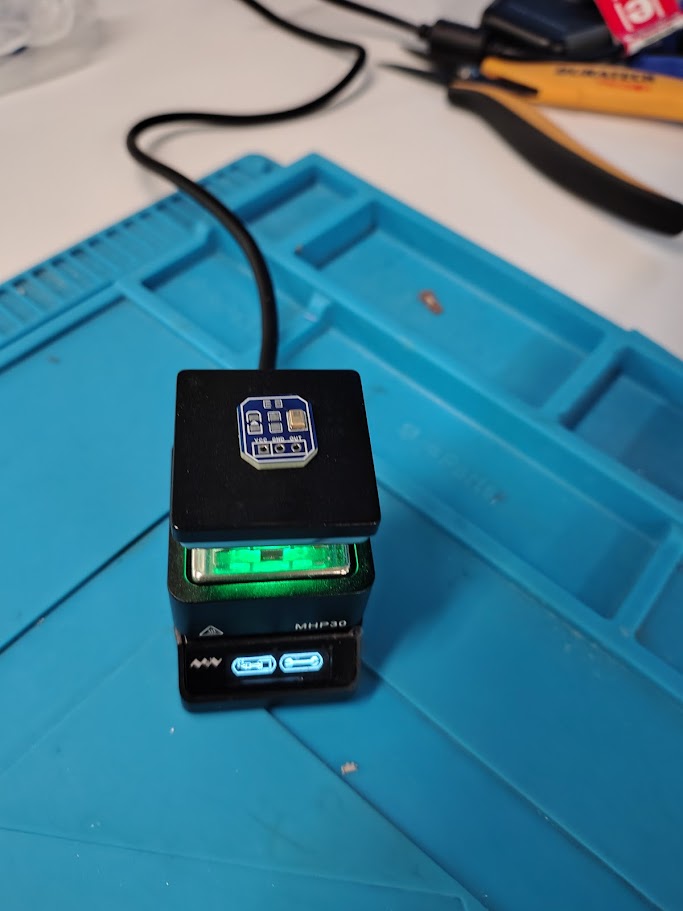
A second, smaller custom PCB for the microphone front end was hand-assembled with a hot-air reflow station:
Current status
Completed: a working breadboard prototype with the full signal path running live, plus two custom PCBs (signal pre-conditioning and microphone front end) designed and assembled. Ongoing: this is an active EESS club project; members continue building on the same prototype and board designs.
What I learned or am proud of
The filter-design tool is the piece I’m most proud of, not because of the filter itself, but because it turned a manual, error-prone design step into something reusable for the next person who needs a Sallen-Key stage. That’s the habit I try to bring to club projects specifically: build the tool once, properly, rather than solving the same problem by hand every time it comes up.